Do you know the steps of installing solar for your home? Many people are in the dark about what happens before, during and after. We’re here to tell you a bit more about what to expect when you are installing a solar system. From getting in touch with a supplier to preparing for the big day and the final product.
A solar system typically consists of a solar inverter, a mounting system, and, of course, solar panels. These solar panels play a pivotal role in capturing solar energy and converting it into DC electricity. Meanwhile, the inverter transforms this generated electricity into AC electricity, which is used to power homes.
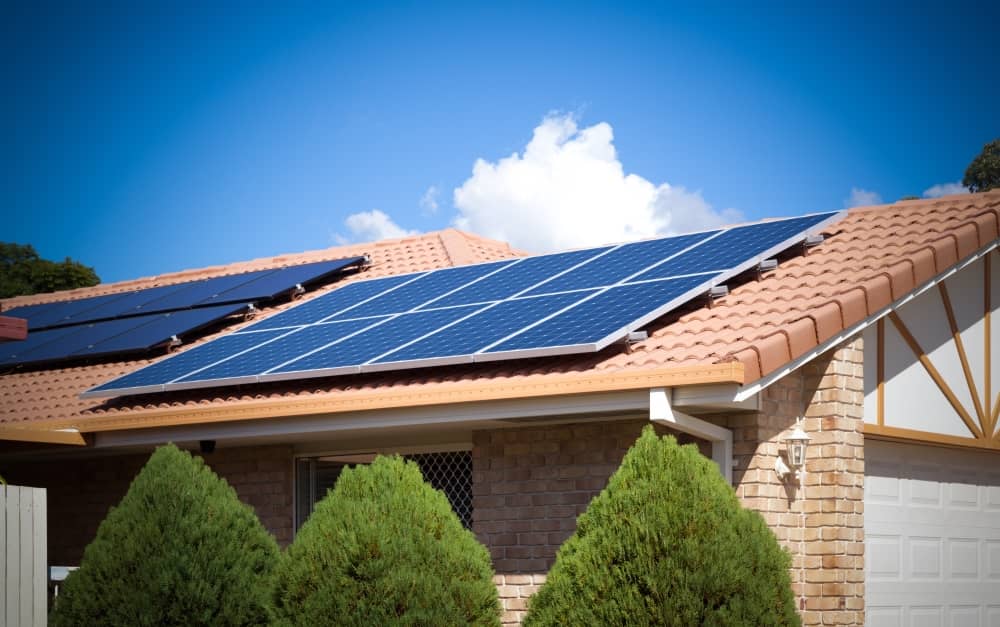
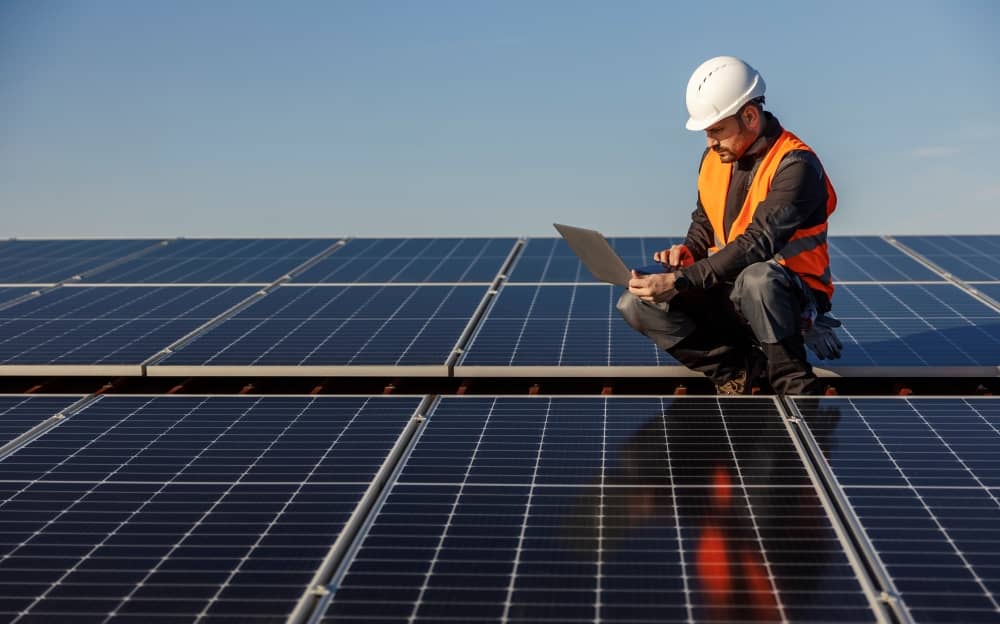
The roof is the most common location for solar photovoltaic (PV) panel installation. In areas like Perth, rooftops typically have the desired specifications, allowing the panels maximum sunlight.
The Process of Getting Solar For Your Home
Proper planning is a critical initial step before installing solar panels. Understanding your energy needs and assessing your home’s suitability for harnessing solar power is essential. To streamline the process, you need a reliable installer who will help you determine the correct system size and your home’s efficiency by considering factors such as roof shading, orientation, and angle.
An Assessment of Your Property
In this step, the installer conducts a comprehensive evaluation of your home. That way, they can come up with the best design for your solar system by performing several checks, such as roof integrity, fitting electrical setup, and, if applicable, battery placement. This thorough site inspection is significant to verify whether the property is appropriate for solar energy generation. It usually involves assessing the orientation and tilt of the roof, which plays a vital role in the panels’ ability to gather solar power.
You May Also Like: How Much Roof Space Do You Need For Solar Panels
Selecting the ideal Solar Panel System
Following the site assessment, a solar panel system will be designed to cater to the specific needs of the household. This step includes determining the best location on the roof for the solar panels and choosing the type of panels, whether thin-film, monocrystalline, or polycrystalline, among the many selections. It also involves picking the suitable inverter technology. This phase is crucial and can be time-intensive to ensure the system is accurately sized to your home’s electricity consumption. Additional factors will also be taken into account, such as local climate, shading, and roof condition.
Preparing For Installation Of Your Solar System
Finally, it’s time for the installation. But before we get there, you should prepare for the next step, which should include ensuring the roof is in good condition. Address any repairs before installing the panels. An electrical system review may also be useful, where the installer may recommend a few modifications or upgrades so that the solar panel system will be accommodated in your home without issues.
Once financing and contracts have been arranged, your installer will order the necessary equipment, including wiring, racks, inverters, and solar panels.
What To Expect On Your Solar Installation Day?
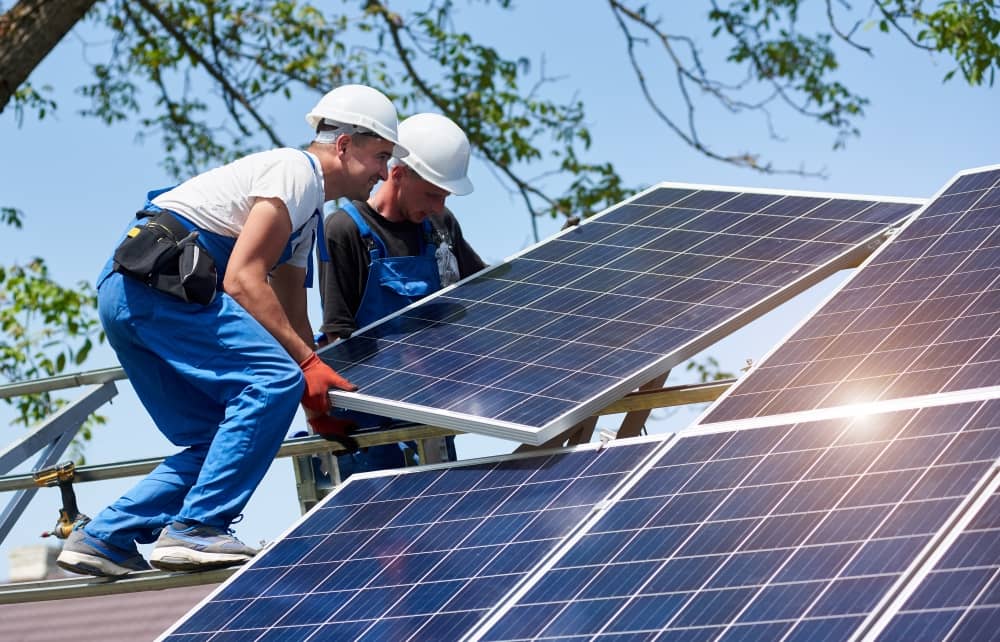
When all necessary inspections are completed and the equipment is ready, it’s time to install the solar panels. Here’s what usually takes place:
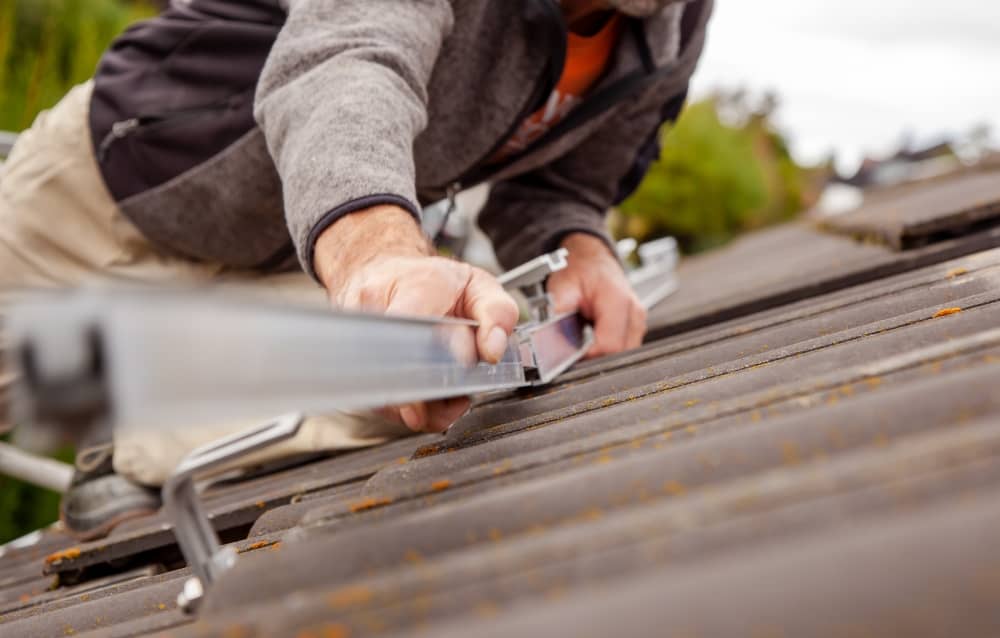
- Installation starts with mounting the racking on the roof. These framing structures will hold the solar panels in place, securing them as they are attached to the rooftop using ballast or penetration systems.
- The solar panels are then mounted and positioned in an area on the roof with optimal energy capture.
- Wiring is up next, which is a critical part of solar installation. The installer will connect the electrical wires from the panels to the inverter. That way, you have a system that can convert DC into usable AC power.
- When all wiring is set, the inverter is next, which is generally mounted on a wall. It will be connected to the solar panels and the electrical panel or distribution board in your home. Once the inverter is connected to the electrical panel, solar energy can now be used in your home.
- But first, the system needs to be tested, which typically takes place after the completion of the physical installation. A thorough test, which includes checking electrical connections, panel power production, and system safety, is performed to ensure the system works properly.
The installer will coordinate with the electricity provider in your area to assess whether the solar system can be connected to the grid. This step is only applicable for grid-connected systems, which may also include the installation of a bi-directional metre.
In most cases, installation is relatively quick, usually requiring one to two days. You don’t even have to be home during the whole process. If you are busy at work, you can simply let the professionals do their job and later enjoy a solar-powered home.
Once the installation is complete, a series of tests and commissioning will be taken to check if the system operates as expected. These tests include:
- Electrical checks to verify all wires are connected correctly and safely according to regulatory standards
- Performance tests to check if the solar panels are performing based on the system’s design specifications by measuring their current and voltage output
- Inverter check to confirm if the equipment is converting DC to AC and if any error codes may cause it to fail in the future
- Safety tests to ensure there are no hazards, such as exposed wires and sharp edges, whilst meeting electrical and building code requirements set by the region or state
- Monitoring equipment tests to track the system’s performance and monitor energy generation
Once all these tests are completed, the installer will formally hand over the system to you. You will receive comprehensive information about the newly installed solar system, including guidance on monitoring its performance, warranty details, and maintenance requirements.
What Happens After Your Solar Is Installed?
You are well on your way to using clean, renewable energy and saving money on your electric bills. But wait, there are still a few post-installation steps and considerations that you need to pay attention to, especially when it comes to ongoing maintenance and monitoring:
- Regular monitoring is required to make sure that your solar system operates the way it should. Thankfully, most systems today come with monitoring equipment, allowing you to keep track of energy production as it happens.
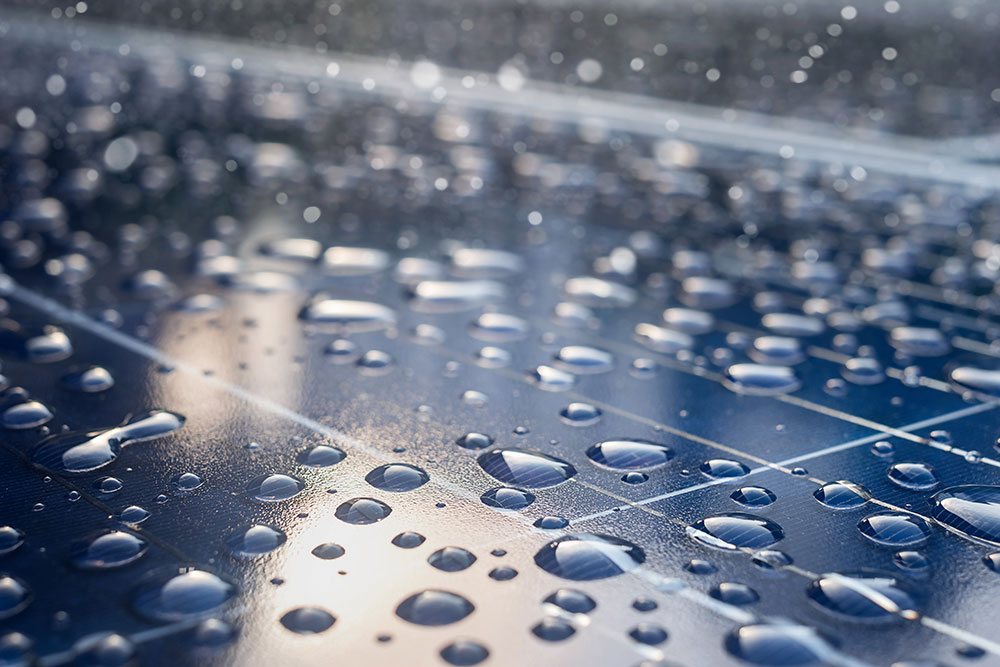
- As for routine maintenance, you may have to rely on data to see if your solar panels have reduced in gathering solar power. If their efficiency has declined, especially after a rainstorm, cleaning may be needed for the panels to regain their optimal function. This guide can help you.
- From time to time, an electrical inspection is useful to ensure the solar system complies with electrical codes in your area. If required, your solar installation can guide you through the process.
- It also helps to understand your energy bills after installing solar. The system can sometimes lead to credits if you produce surplus electricity and send it back to the grid. Determine how you can qualify, along with how feed-in tariffs and net metering work to get the most out of your solar investment.
Apart from the maintenance and monitoring requirements of your solar system, we recommend that you keep an eye on any solar incentives that you may be eligible for. For example, Small-scale Technology Certificates (STCs) are available to homes with solar installations. To claim this incentive, you need to submit the necessary documentation as promptly as possible to maximise your financial benefits.
Do You Need Council Approval or Permits for Solar Panels?
In many locations, such as Perth, Sydney, and Melbourne, obtaining permits and approvals is a prerequisite for solar panel installation. You should never proceed without learning about the documentation you may need to avoid potential fines. It’s a good thing that you have an installer to help you in this process, which includes the preparation of necessary documents. They will also handle the submission of the papers to relevant authorities.
In Perth, some of the main permits and approvals required include Development Approval (DA) for large systems, a building permit, an electrical works permit, and grid connection approval.
Aus Energy Solar is your trusted partner for seamless and efficient solar panel installation. We offer site assessments and customised solar system designs tailored to meet your specific requirements and energy goals. We’ll also take care of permits and approvals. Best of all, we have high-quality solar panels and components to ensure the longevity and efficiency of the whole system.
Give solar a chance today—contact Aus Energy Solar for a hassle-free solar installation experience.